
For the Love of the Children – Workflow Guide
To download or print this document, please click here.
Table of Contents
Getting CT HMIS Help and Training
Enrolling your client into your program
Adding services under your client
Entering HMIS IDs for Bulk Services:
Creating Scan Card and Obtaining IDs:
*Maintaining a List of Scan Card IDs:
Streamlining Bulk Service Entries:
Overview
Instructions/guidelines on how to enroll, create case notes, create bulk services, and exit a client fromthe For the Love of THE Children in Caseworthy.
Instructions
Getting CT HMIS Help and Training
Technical support is available from our Help Desk via a variety of methods for any questions regarding either the CaseWorthy software or with Policy and Procedure standards.
- Email: help@nutmegit.com
- Online Resources and Information: http://www.cthmis.com/ or HMIS Knowledge Base
Logging into CaseWorthy
- Access the Live CT HMIS site by going to CaseWorthy . You will be prompted, upon logging in for the first time, to enter an MFA code.
- Enter your Username and Password.
- If you forget your password, simply click the Forgot Password link and follow the prompts.
Before You Begin
Different roles are assigned varying levels of access, ensuring that users only see and work with information relevant to their designated responsibilities within the organization.
- The Organization should be set to match the Organization you are working with or reporting on.
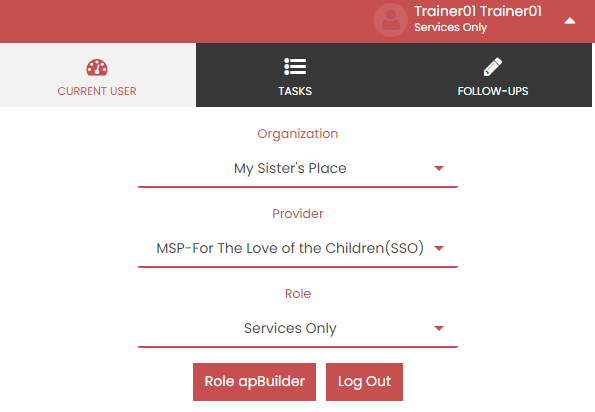
- Please ensure you are using the correct Role (Click on the arrow located in the Top right corner to expand the user area as displayed in the screenshot below).
- Your Provider should be the name of the Provider you wish to enter data for (Top right corner).
Enrolling your client into your program
For this program, the focus is solely on clients already enrolled in a housing program through My Sister’s Place, and adding new clients is unnecessary. In order to find your client the first time, you’ll need to have at least some client information.
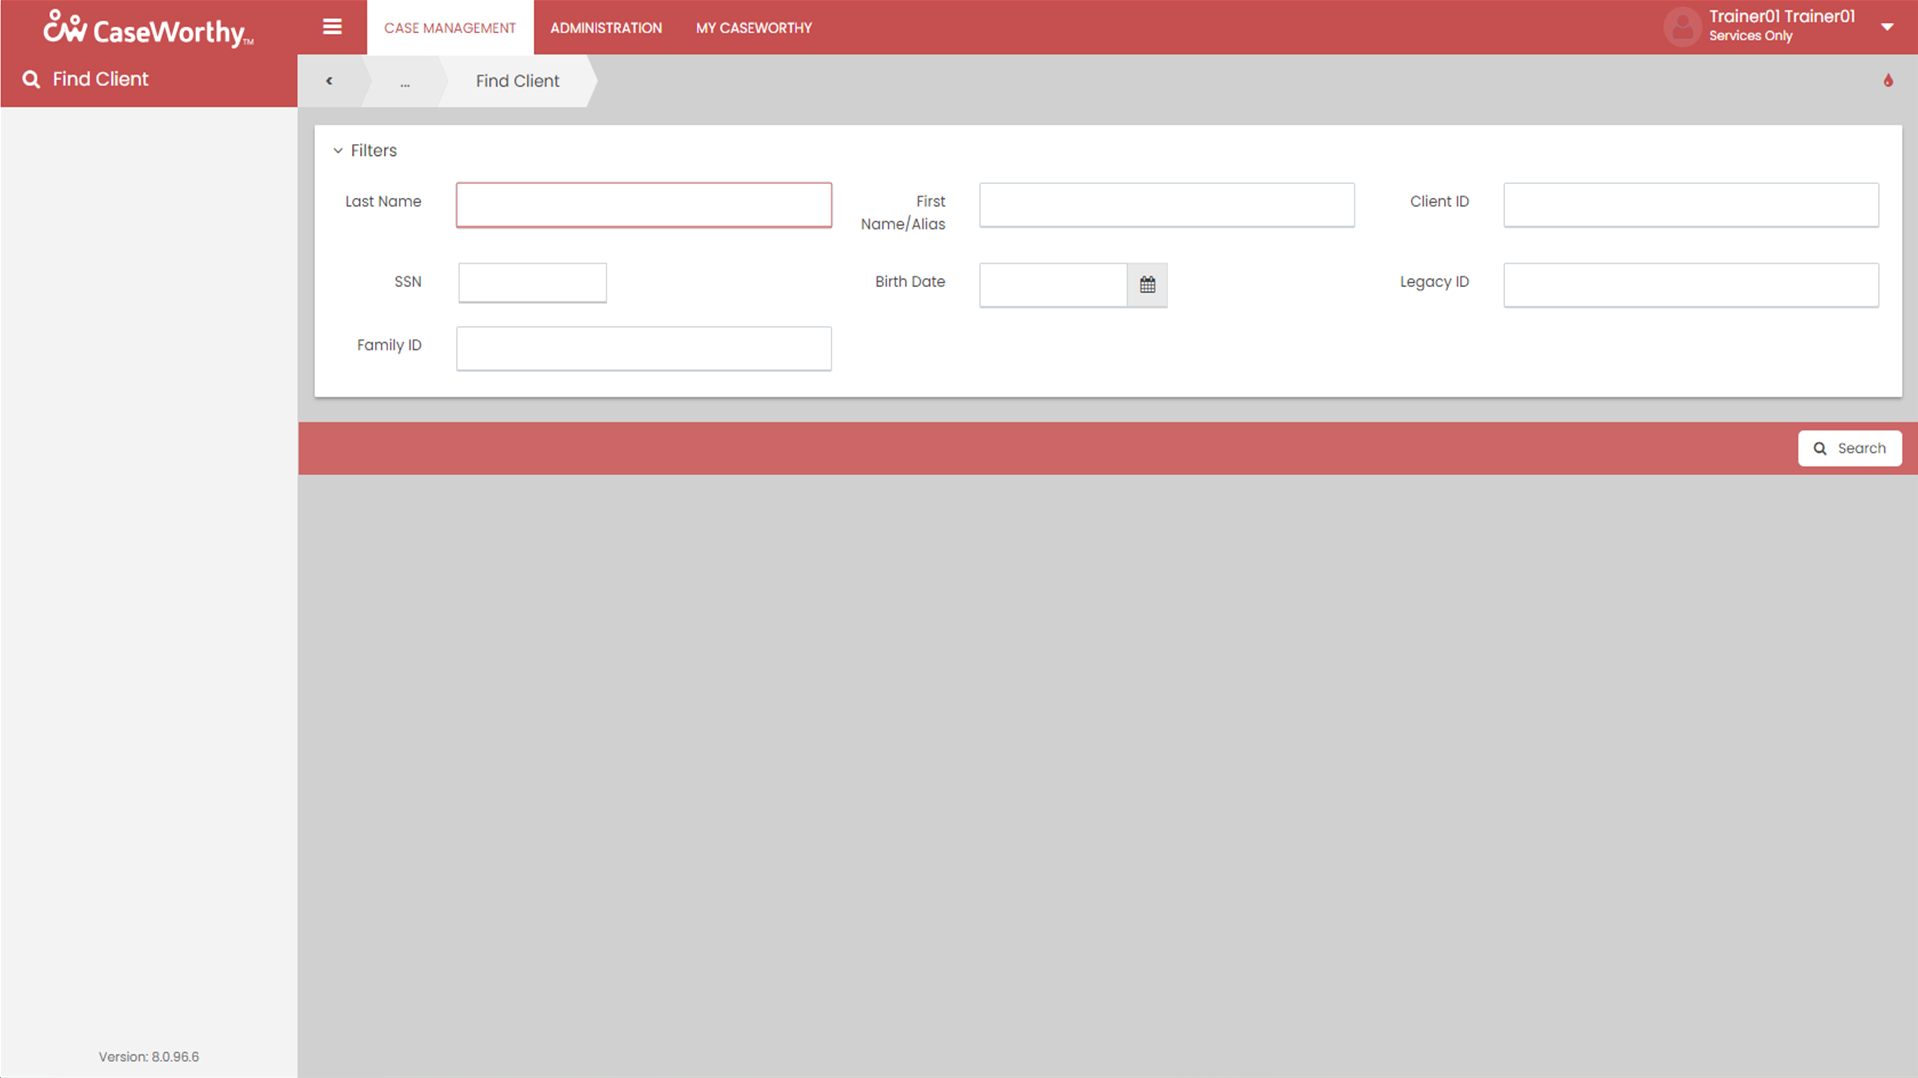
- Click “Find Client” in the upper right area of the screen.
- In order to search for your client, you’ll need at least their name, social security number, date of birth, or client ID. Enter any of this information into the form below and hit search.
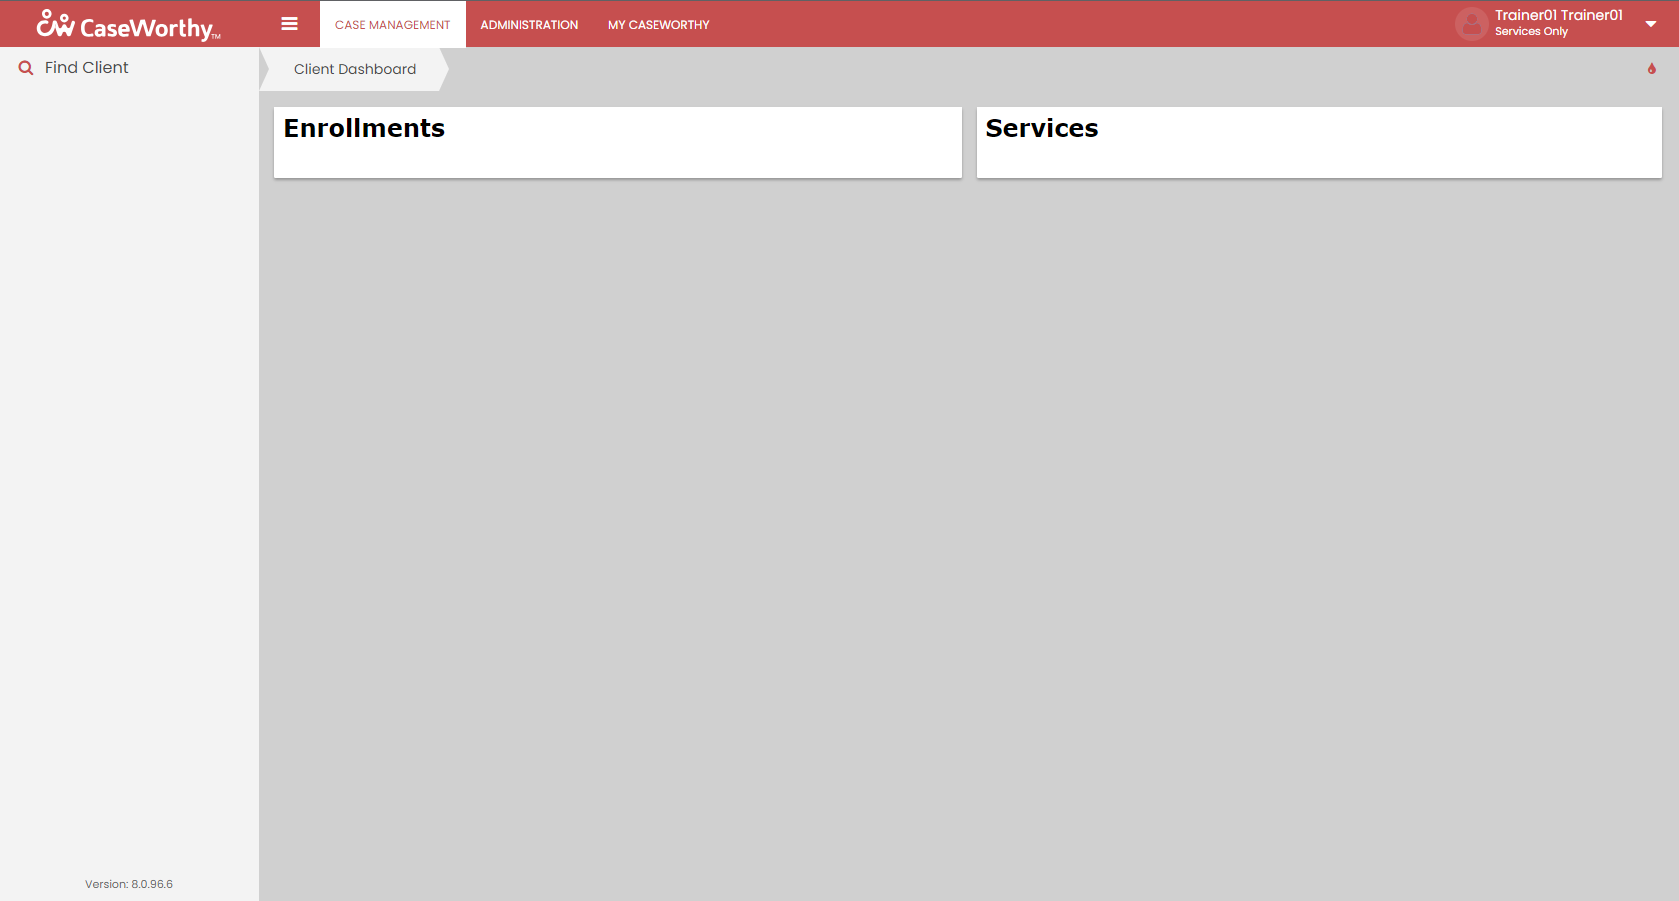
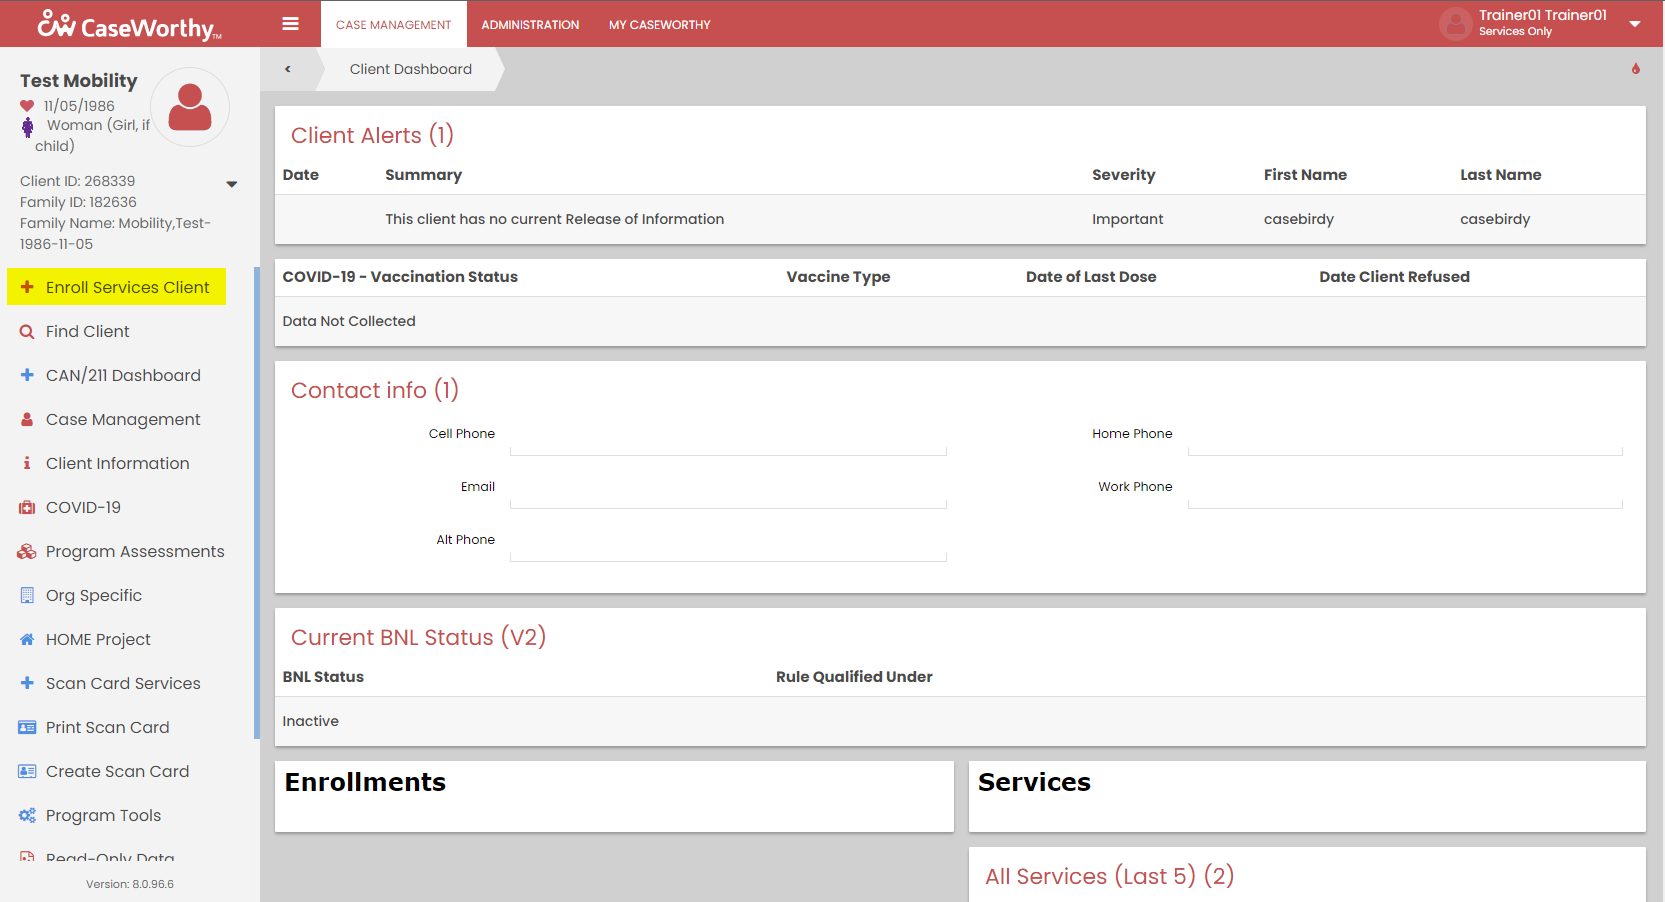
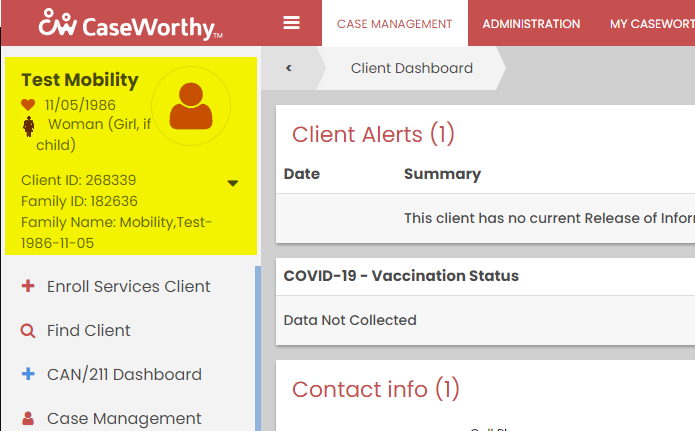
- This is the Client’s Dashboard. You’ll find the user area in the upper right area of the screen, a menu for performing various actions for a client, and various widgets providing client information at a glance. To enroll your client into “For The Love of the Children”, click on “Enroll Services Client”.
- Click “New Workflow” in the upper right area of this screen.
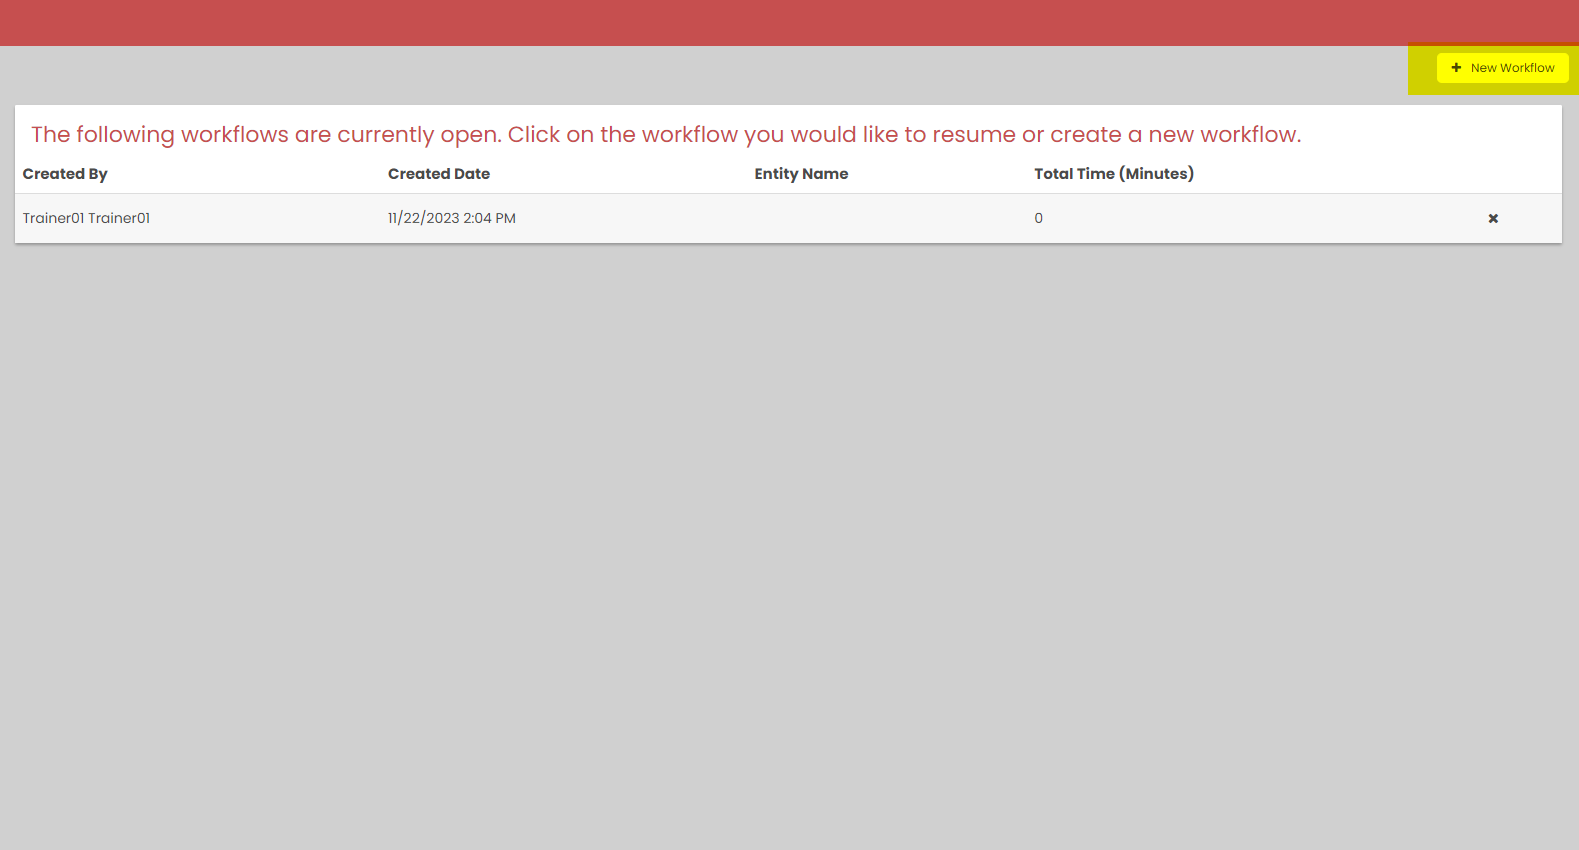
- Since you’ll be working with Clients already in the system, you’ll just want to check for duplicates by entering your client’s ID into the CaseWorthy ID Search field and then hit “Check for Duplicates.”
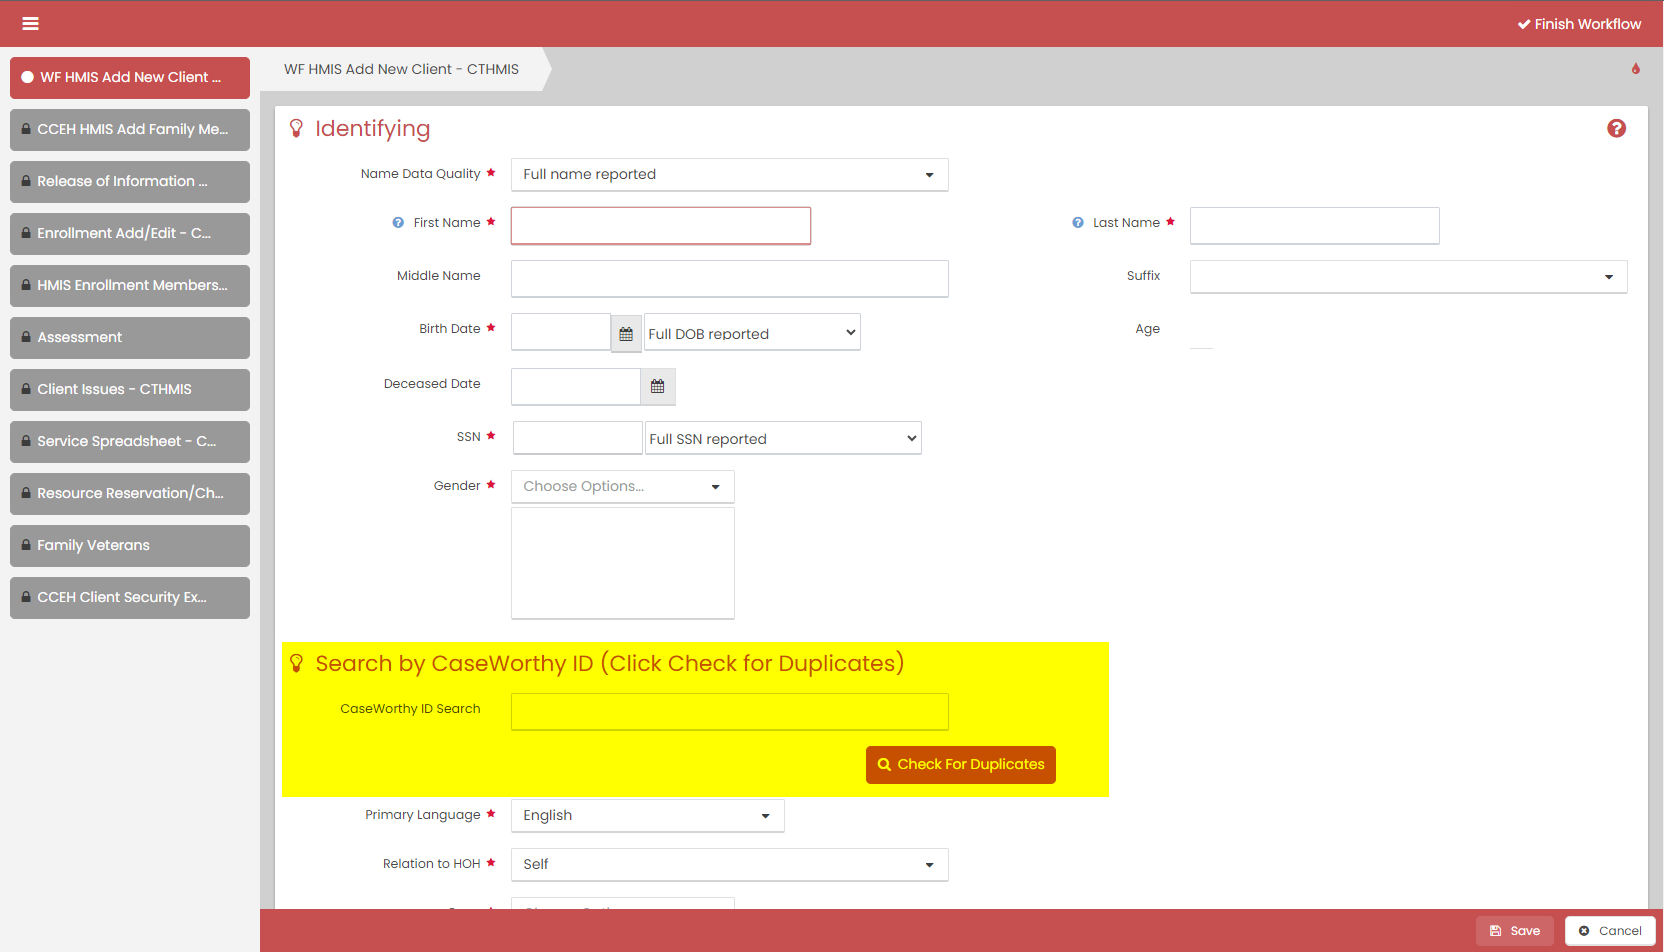
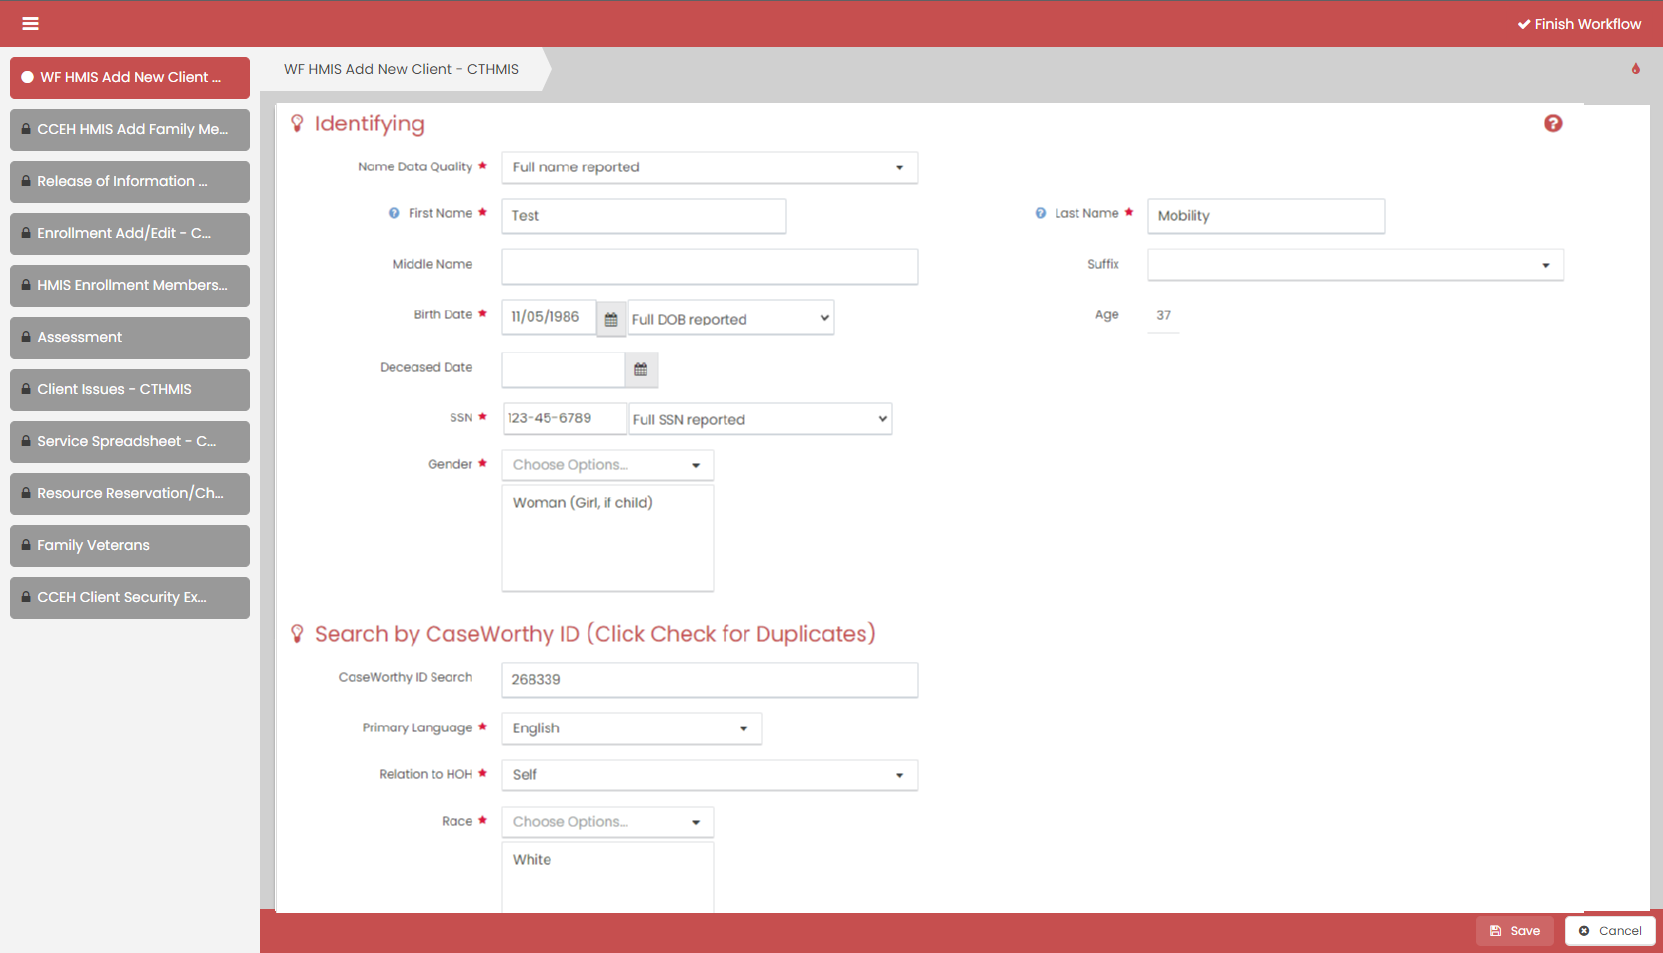
- The pop up that appears will list all duplicate clients. You should only see one if you used the Client ID to search. By clicking on the record, the form below the pop up will auto-fill with the client’s information.
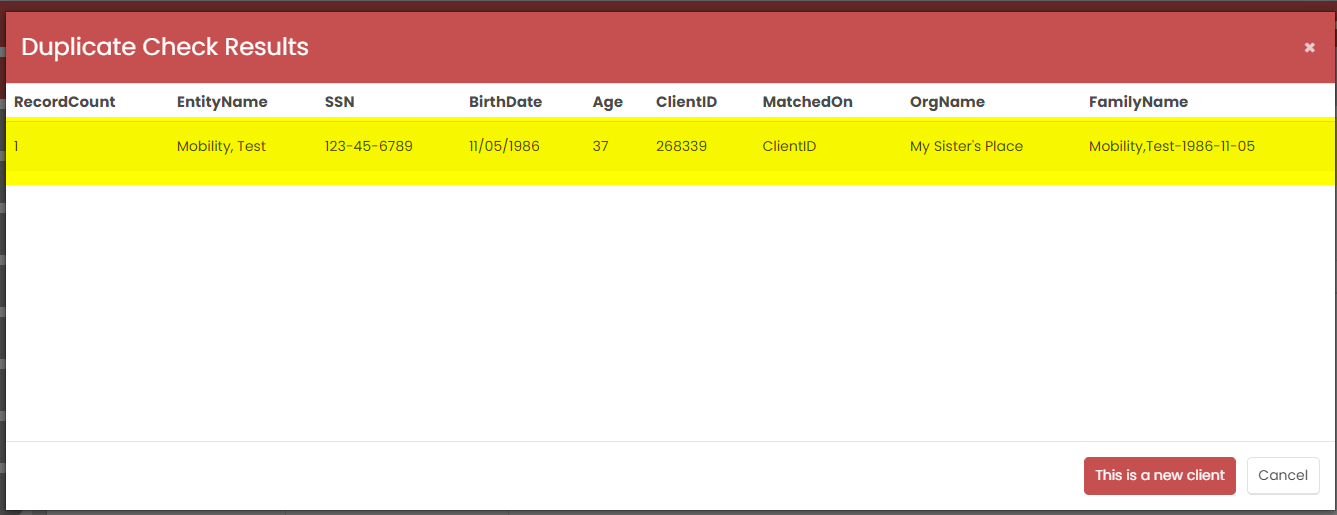
- Quickly review the information and make sure that it’s accurate to the best of your knowledge. If you have additional information that’s not populated, you can add it, such as a cell phone, an email address, et cetera, but fields that do not have an asterisk are not required. When you’ve reviewed the data, you’re just going to click Save.
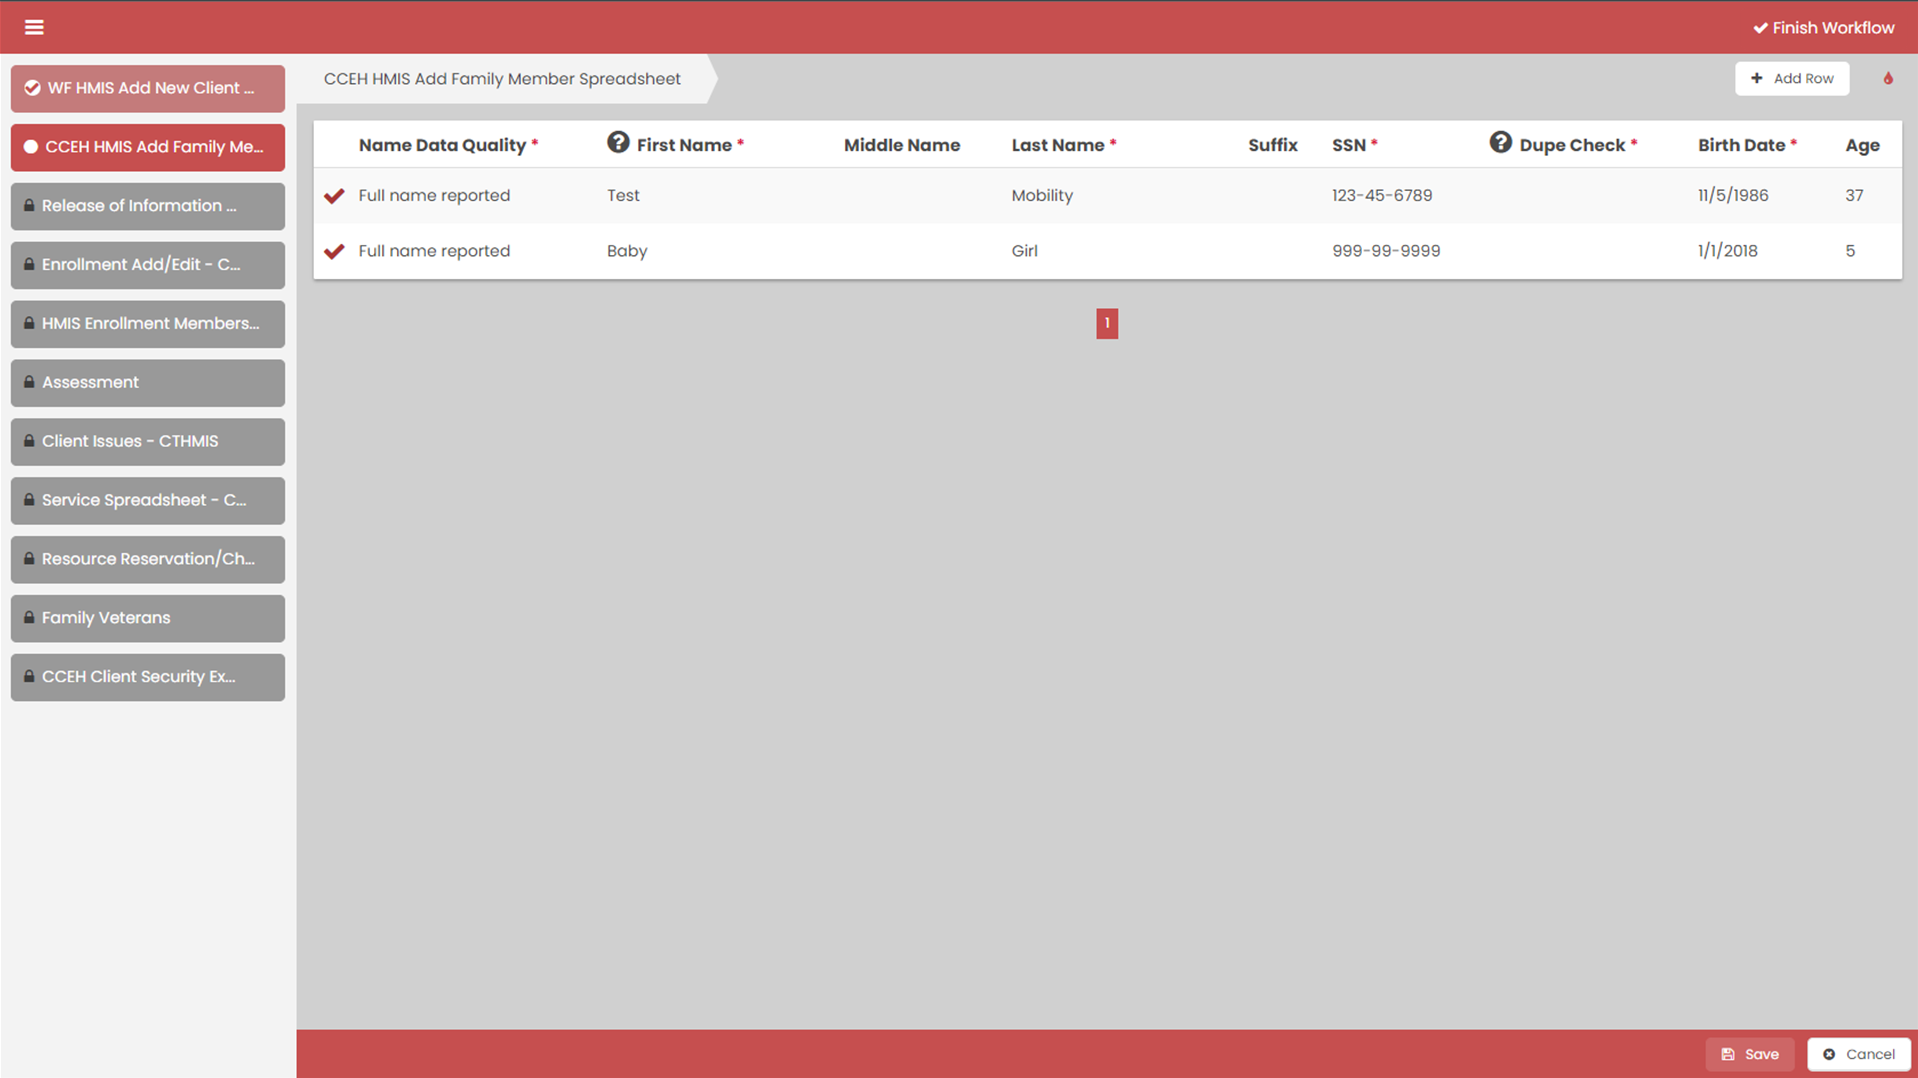
- The next form that populates is going to be the Add family member sheet. The family members for this household should already be entered into HMIS, so you should see all family members listed. After confirming all family members, click ”Save”.
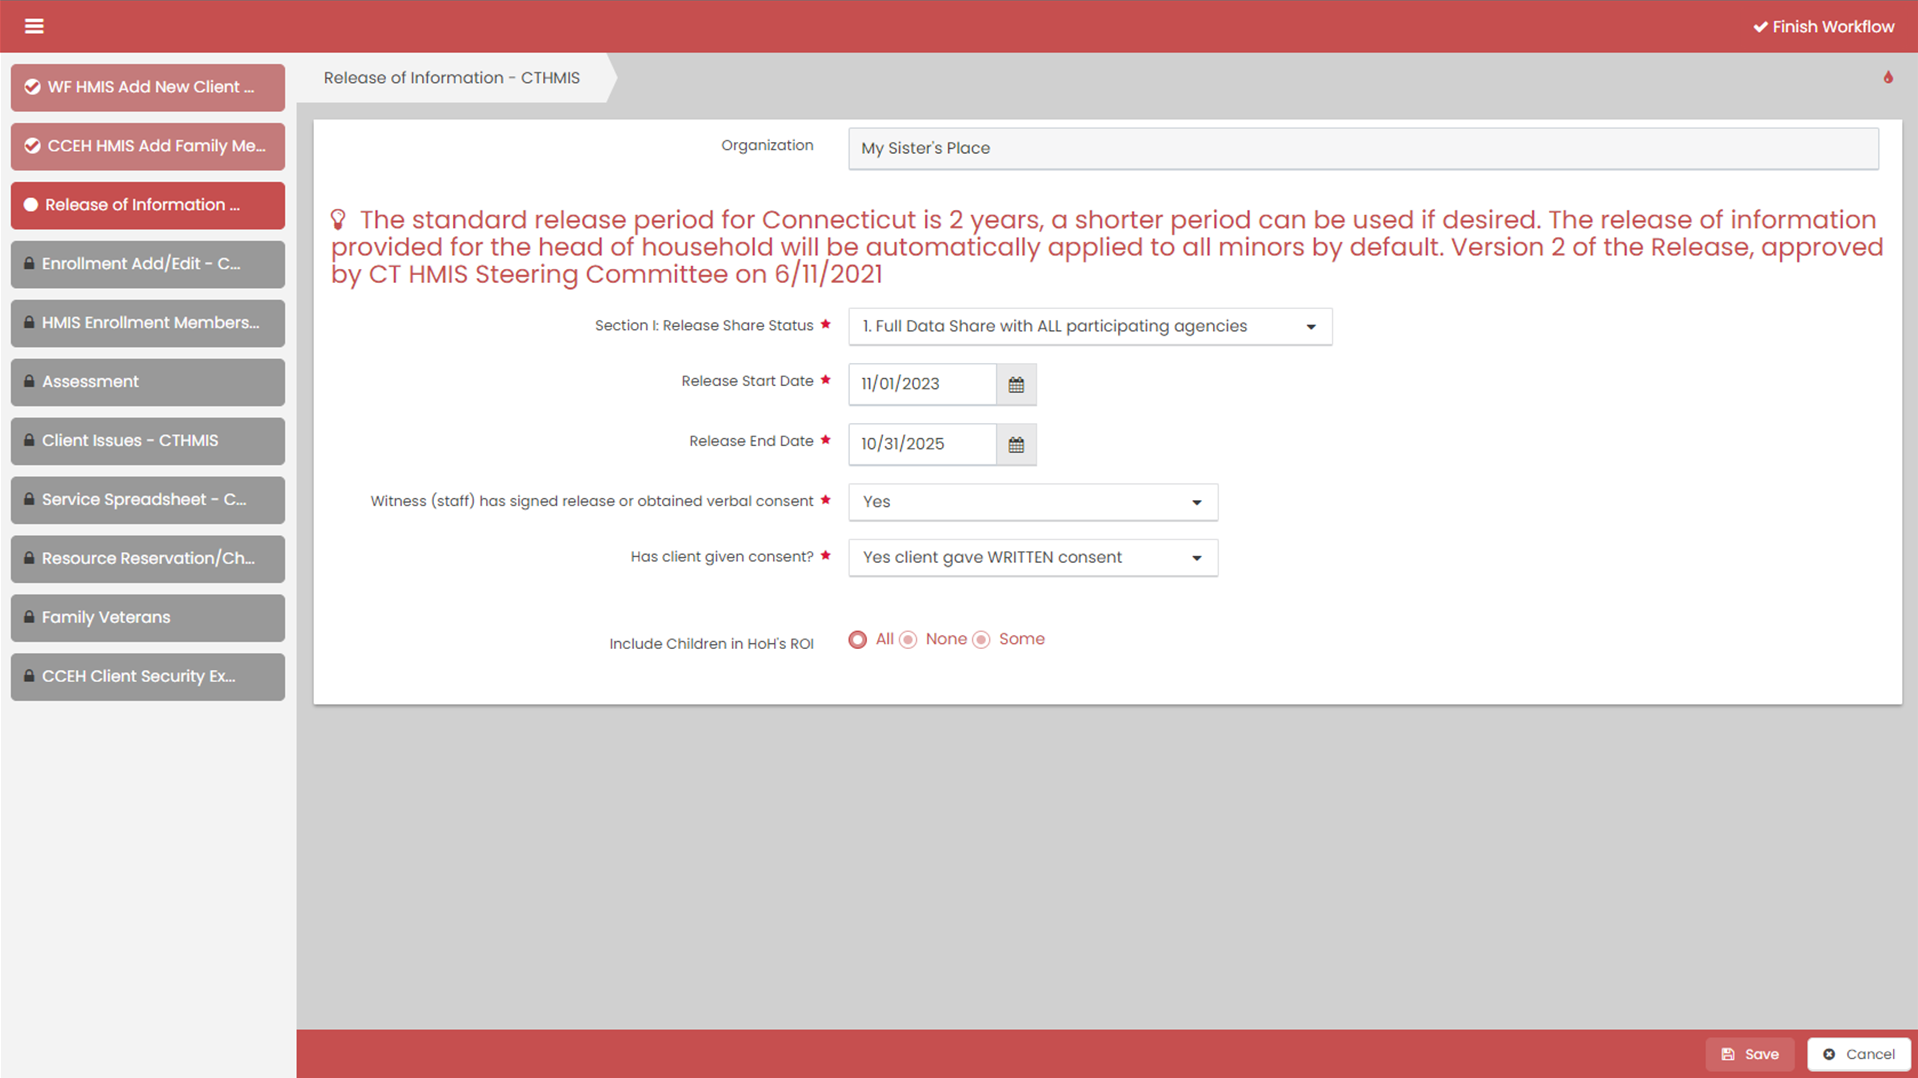
Release of Information (ROI)
- Enter the “Section I: Release Share Status”. If a client refuses to sign the ROI, do not enter that person in your program in HMIS (you will not see a “Save” button if that is selected). Complete all required fields and click “Save“.
- Enter the “Release Start Date” and the “Release End Date”. The standard HMIS release period for CT is 2 years.
- Choose “Yes”for:
Client/Witness (case manager/staff) has signed Release.
- Click “Save” to proceed to the next page (located in the bottom right corner).
Enrollment
- This is the enrollment page. As you can see, the provider is already populated and that’s set up to align with the provider that you chose in your user area.
- Program will be MSP – For The Love of the Children
- Program Entry date will be the date the client entered the program.
- The Assign Case Manager Check box brings up a drop down of users at your agency with access to this program. It will default to you. Check this box to add the client to your caseload. Hit save.

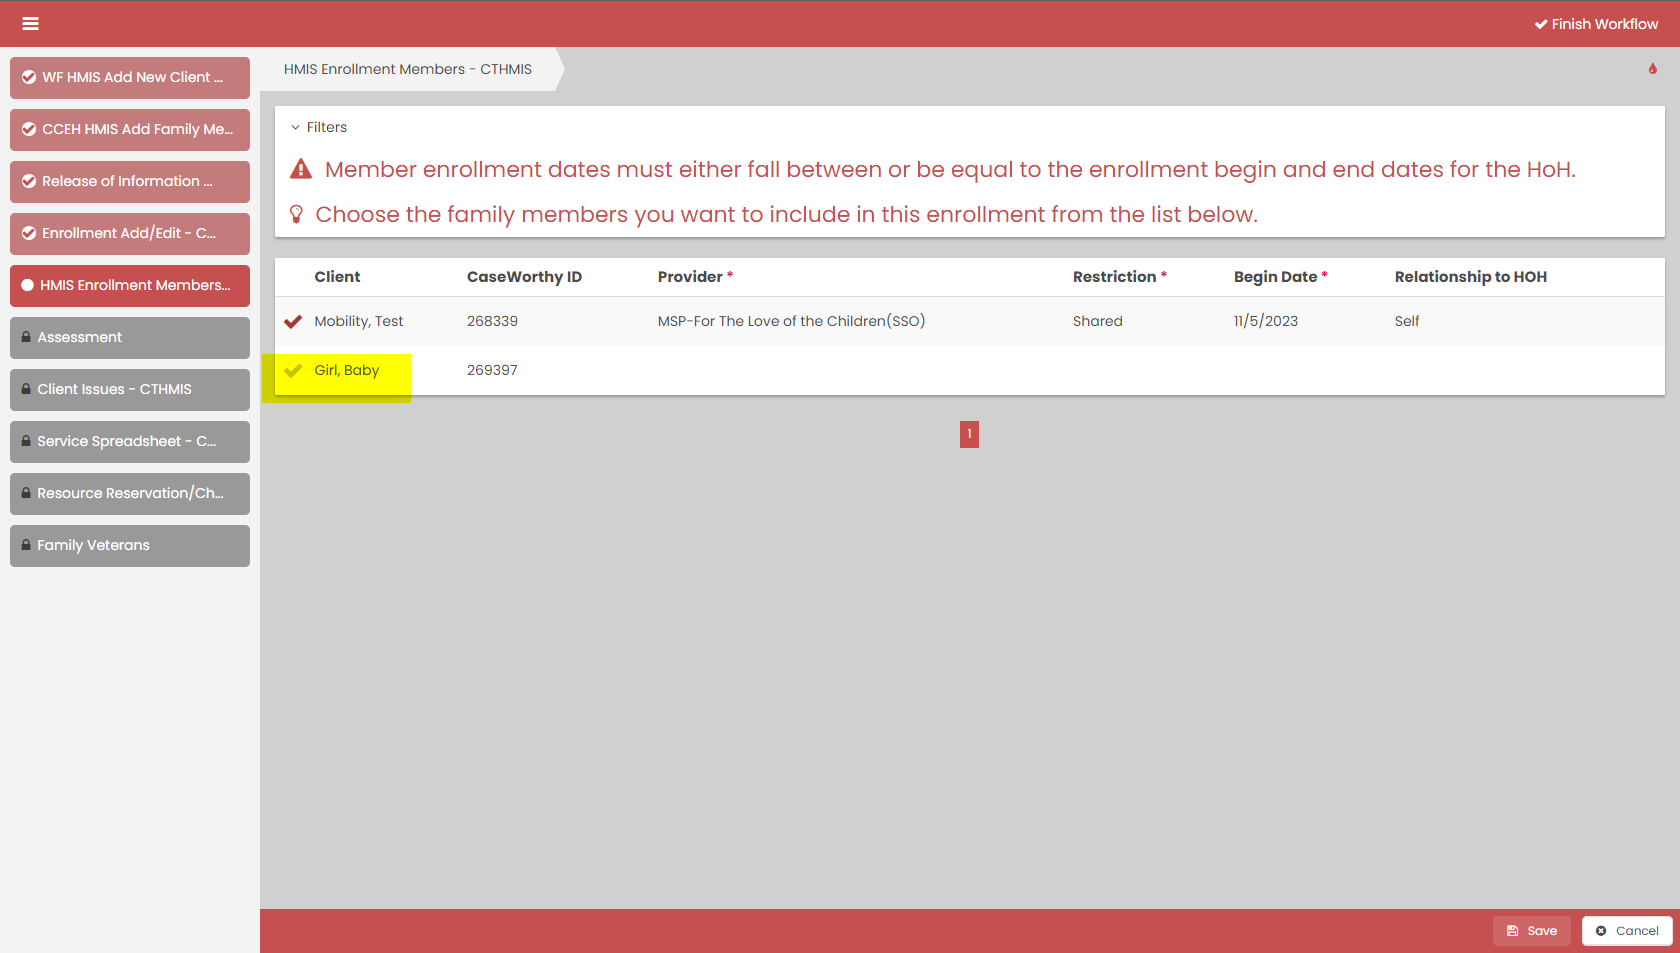
Family Members
This is the Family Member Enrollment page. The Head of Household will automatically be enrolled, as you can tell by the checkmark that’s already checked off. To enroll the child, you click the checkmark and it becomes red. In the live system, all the colors will actually be blue. After selecting the checkmarks, hit save.
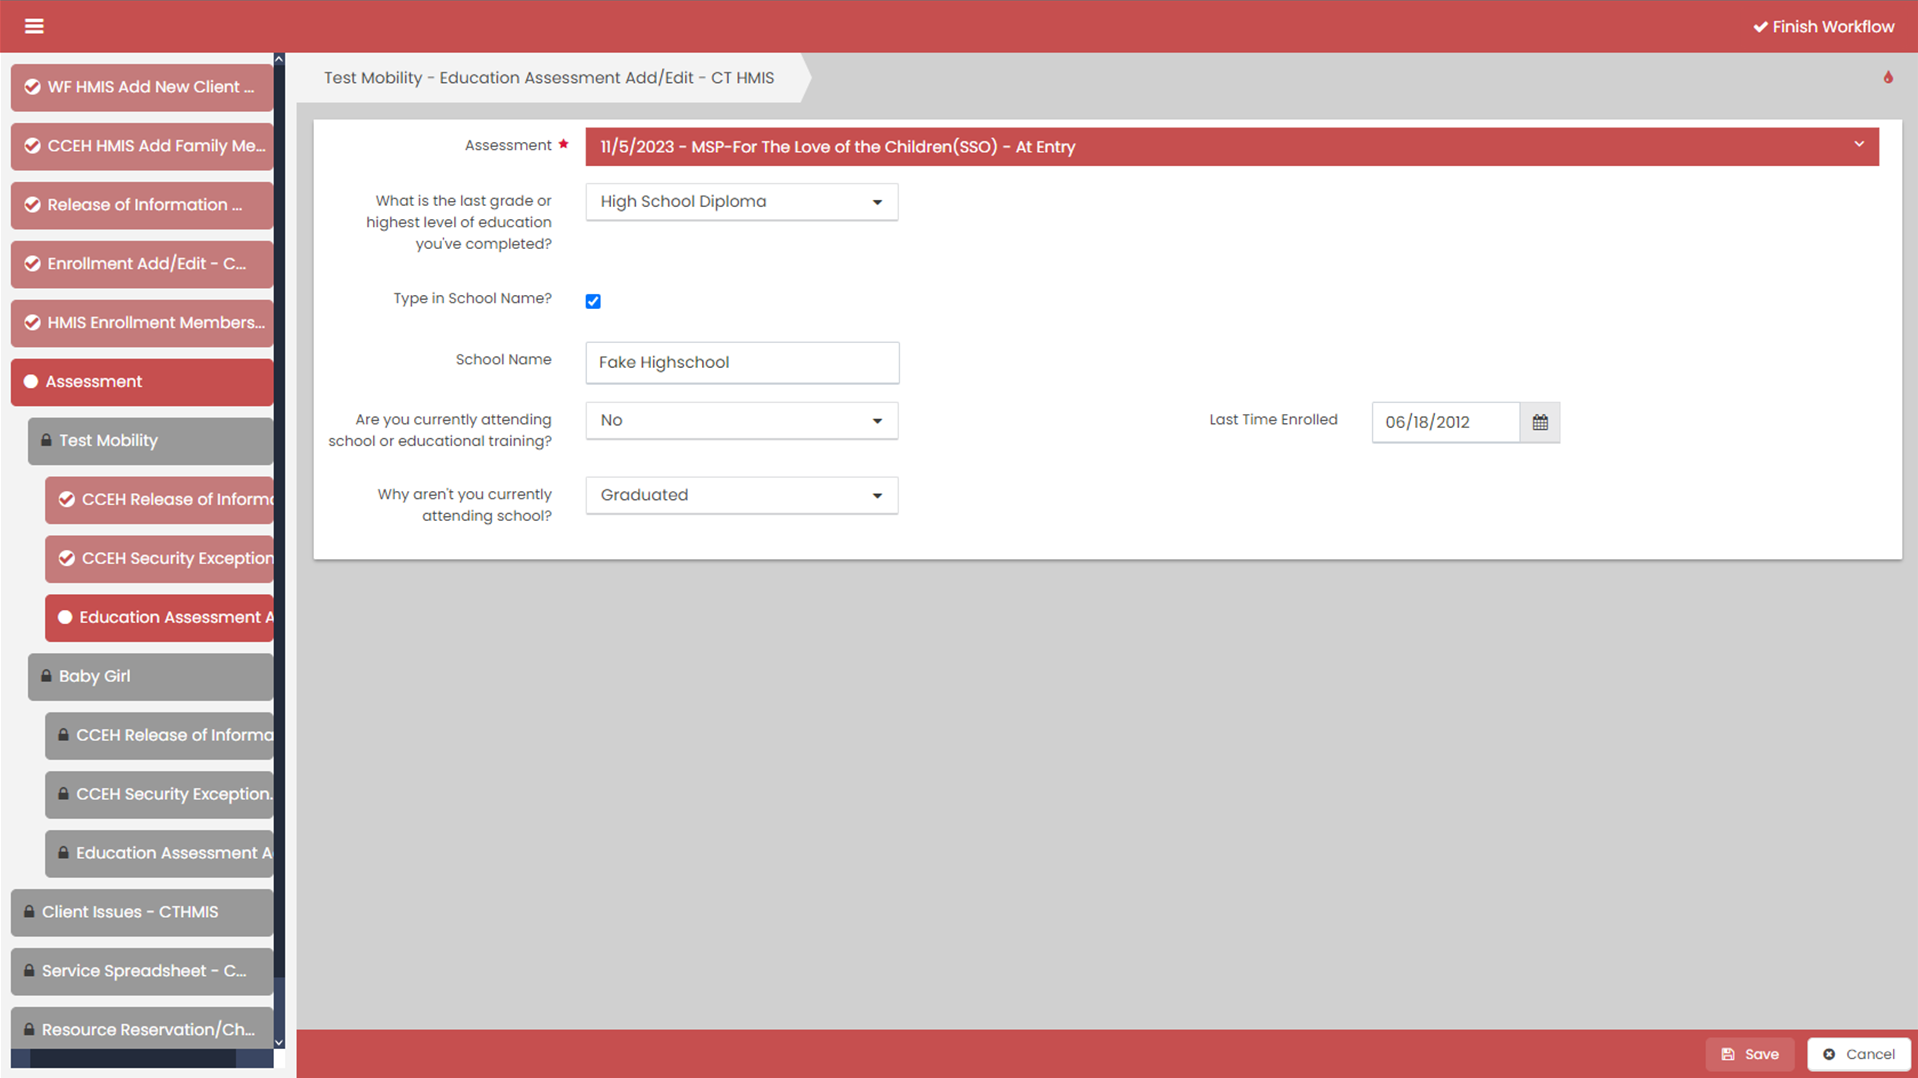
Education Assessment
This is the Education Assessment. All the fields on this page are optional. While this program is focused on children, you should try to collect any information you can on the Head of Household. After filling out the information provided, hit save. You’ll then be brought to each family member to provide what information you can.
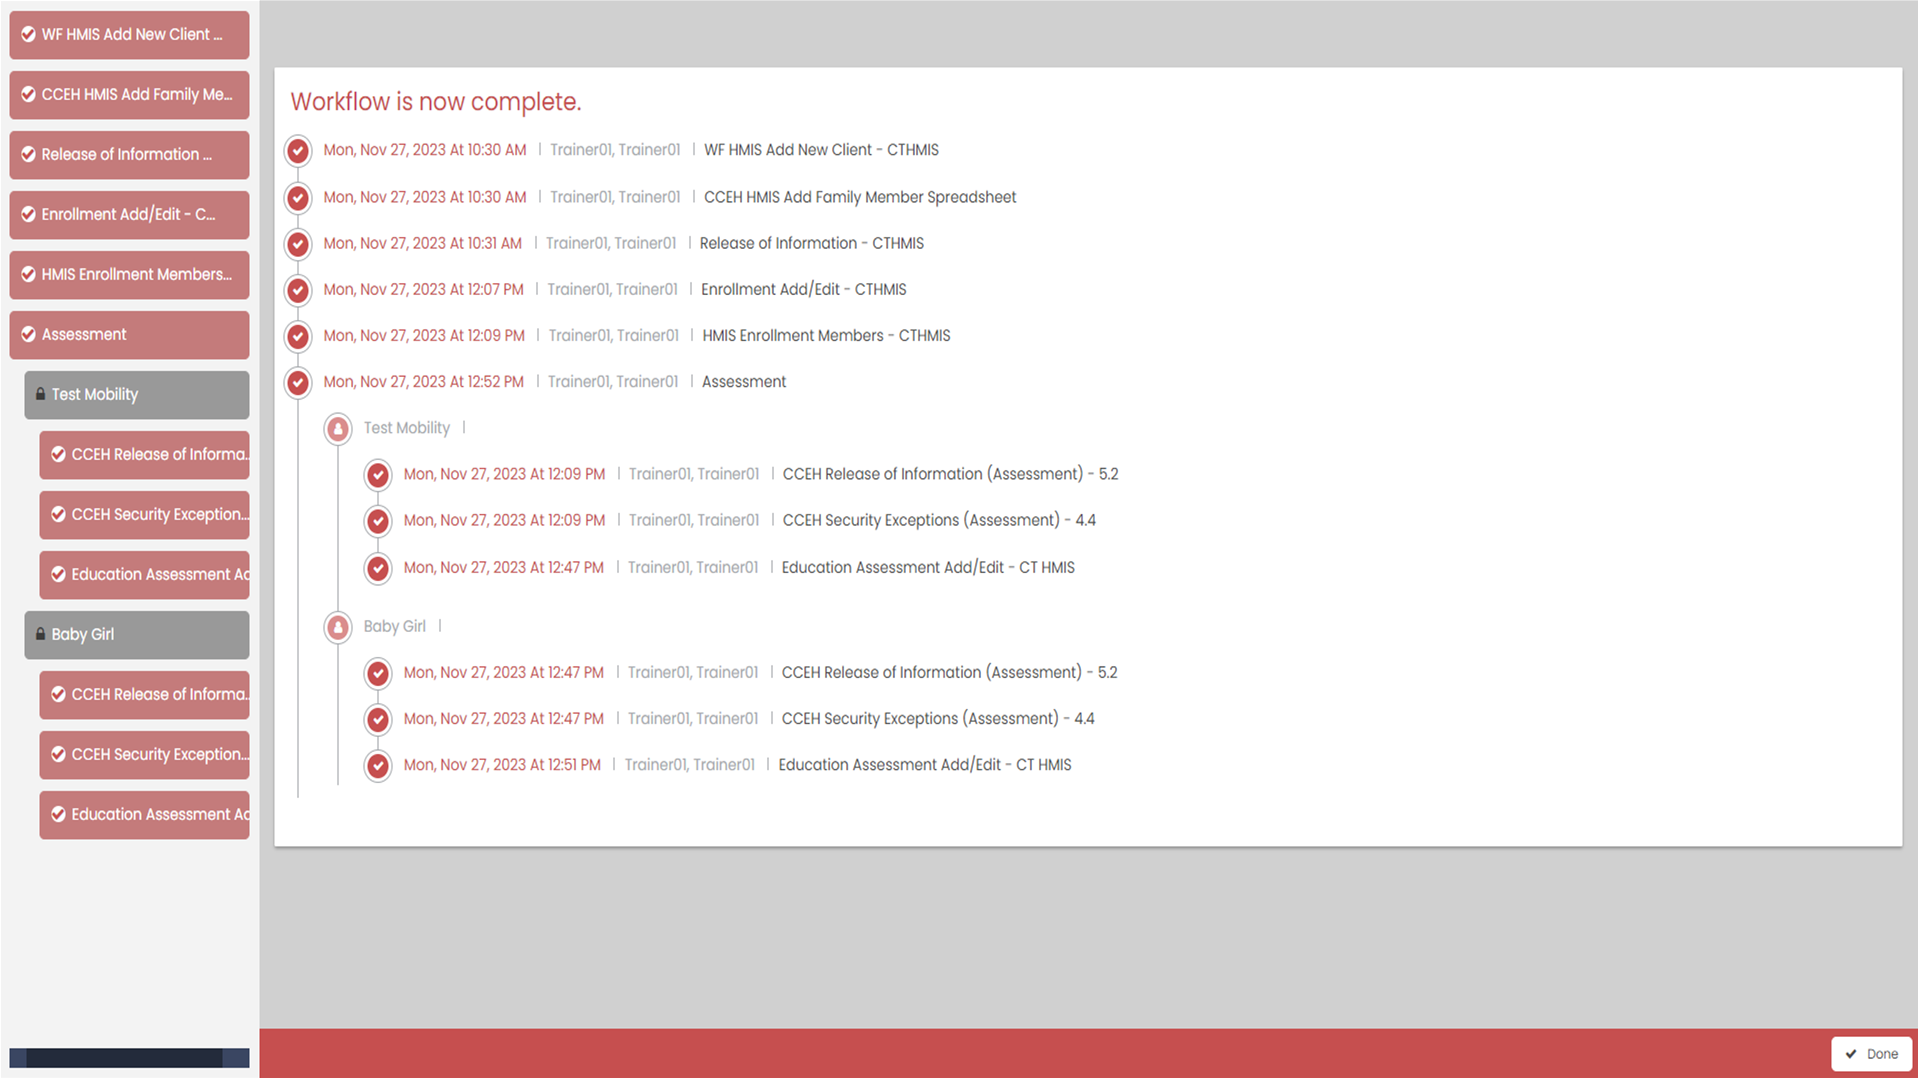
After completing these forms the workflow will be complete and you will click done.
Adding services under your client
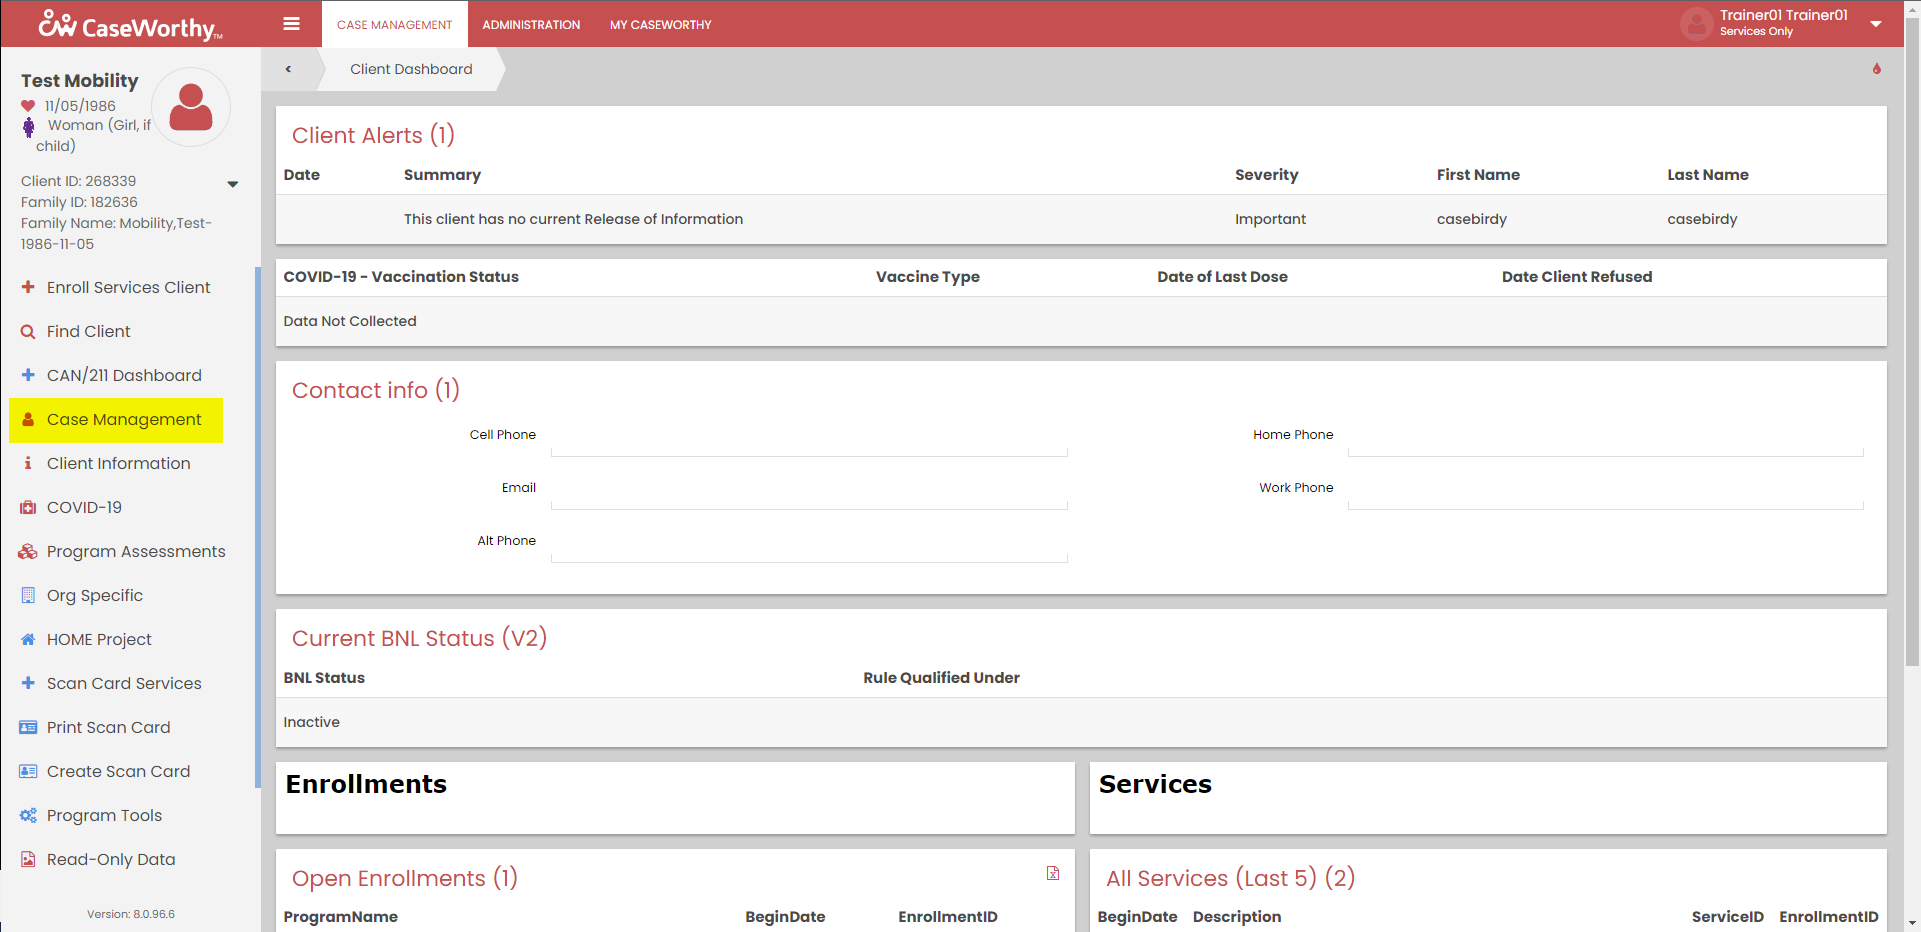
- To access Services for a client, make sure their name is listed in the upper left, then click Case Management.
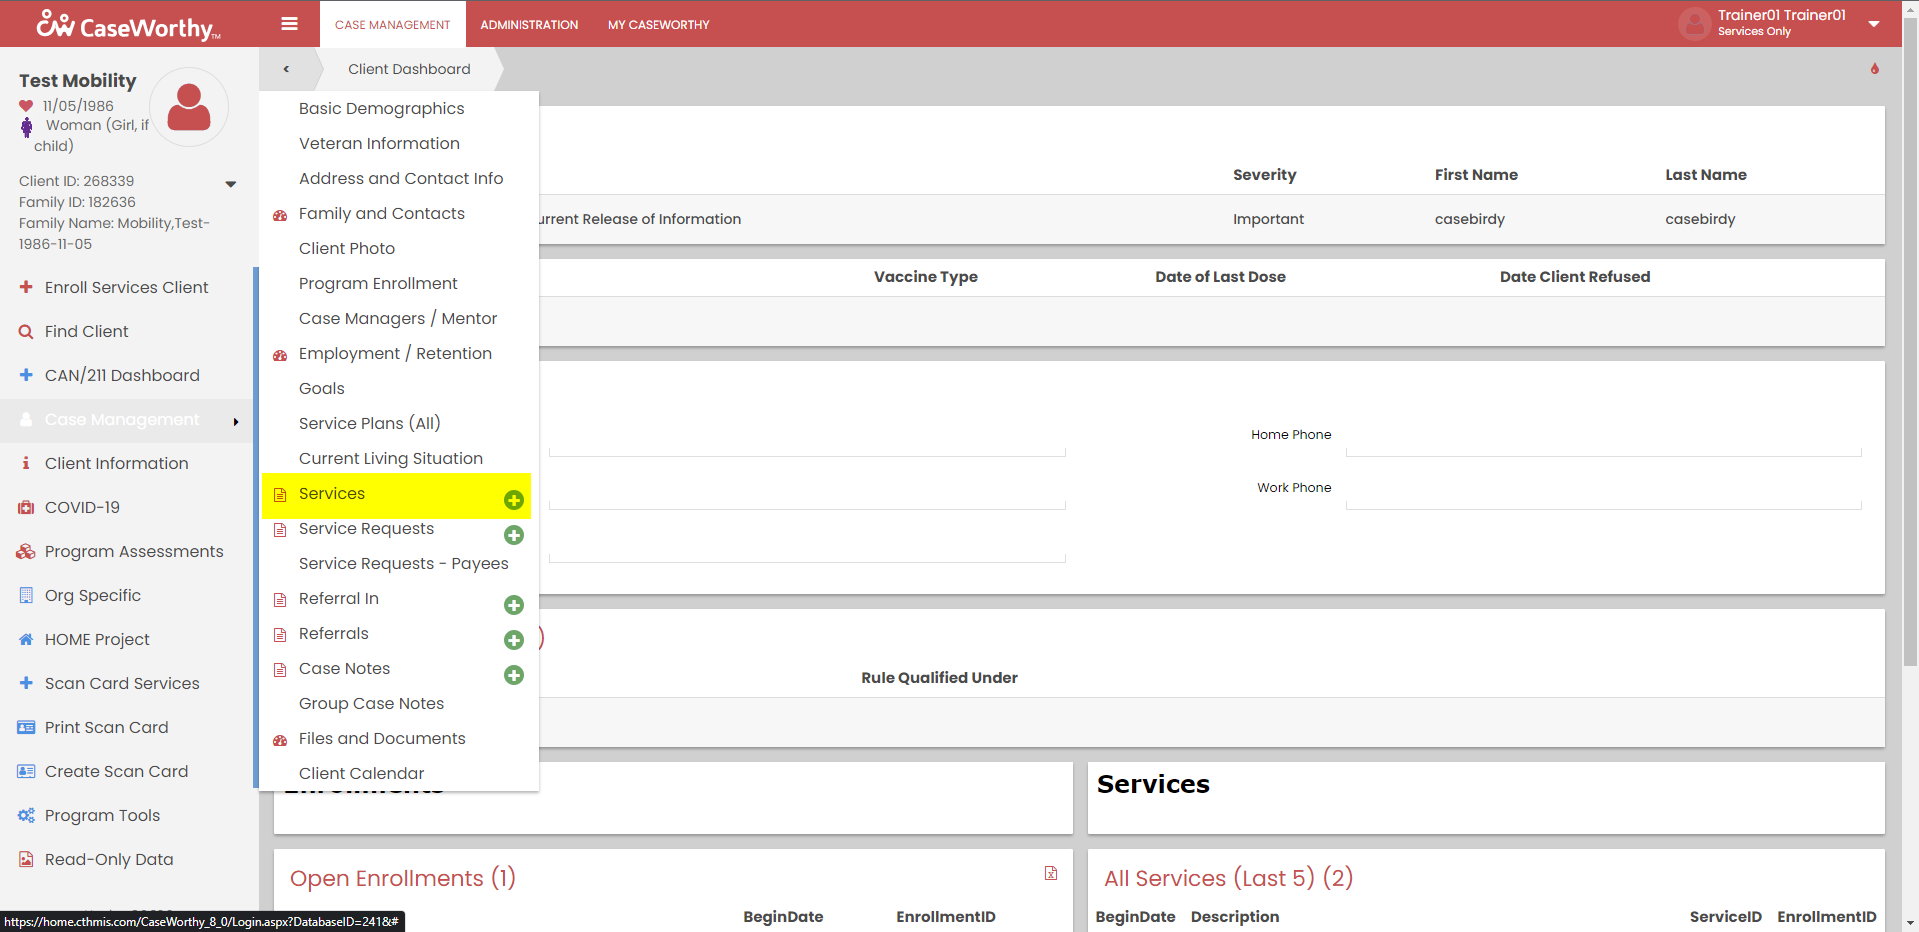
- From the Case Management Menu, select “Services”.
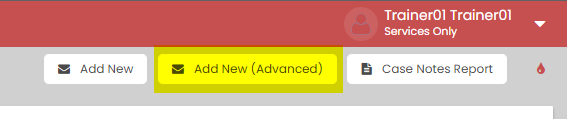
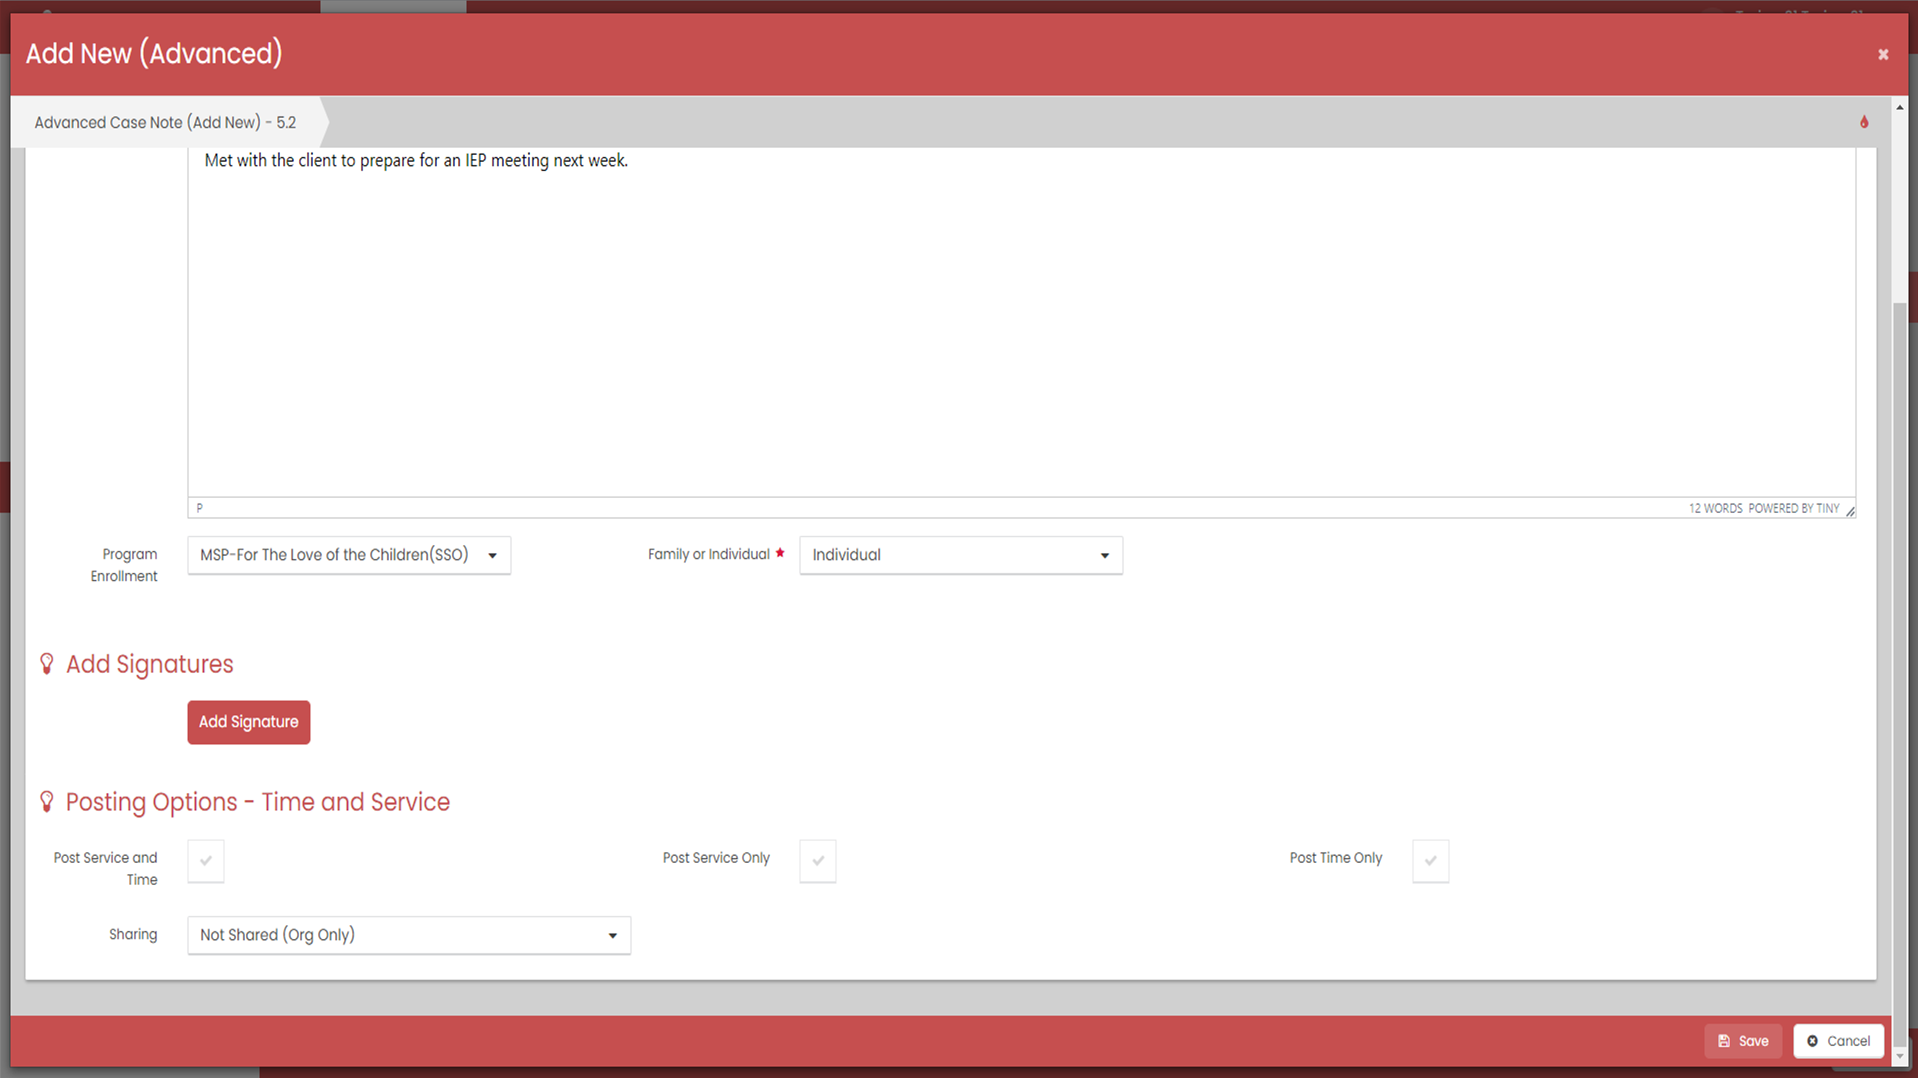
- Click “Add New (Advanced)” to do a service and a case note combination. This is located at the top.
- Enter the Summary, Type, Reference Date, Body, Program Enrollment, and Post Service and Time.
- The summary is going to be the title of your case note. You want it to be something meaningful that’ll help you find the case note later on when scrolling through a list.
- The type will reflect the type of service, Case Note in this instance.
- The reference date should be the date that you provided the service.
- The Body should be detailed enough that someone auditing the program or looking at the services provided would understand what you did with the client.
- The Program Enrollment is “For The Love of the Children”.
- “Post Service and Time” will open up another window. Keep in mind that data from this screen will need to match the data entered on the next screen.

Post Service and Time
- The begin date will match the date you entered on the previous screen. The end date is the same, as this service took place on one day.
- The Enrollment drop down should be MSP-For The Love of the Children(SSO)
- The services drop down is based on the enrollment that was chosen. It may take a second for the services to load. Select the service you provided from the list.
- Units of Measure should be minutes.
- Units is the number of minutes that you have met with the client.
- Unit value will always be set to one.
- Leave the restriction set to shared.
- Leave the type as “regular.”
- If the service was provided face to face you’ll leave ”Activity” as “Face to Face”. If it was via phone you could change it. For this example we’ll leave it as Face to Face.
- “Location Type” is where the meeting took place. For this example we are saying the meeting location was the “Provider Location”. This infers that the meeting happened at the “For The Love of the Children” offices.
- The “Location” is pre-populated.
- Click update to return to the previous screen and complete the service.

- When returned to the previous screen, the “Post Service and Time” checkmark will have turned to green which means that the data entered has been saved. Click “Save” to complete the Service.

Case Notes Page
Upon completion of the Service/Case Note, you will return to the Case Notes summary page where you have the options to see a preview of your case note or print your case note. You also have the option, if there are multiple Case Notes, to print multiple Case Notes at once.
Bulk Services
Bulk Services in CaseWorthy represent a dynamic feature set designed to streamline and expedite processes within the platform. This functionality allows users to efficiently manage a wide array of services and actions en masse, making it an invaluable tool for organizations dealing with high volumes of cases or clients.
For bulk services, you will require all of the HMIS IDs of each client involved.
Accessing Scan Card Services:
- Navigate to the menu for “Scan Card Services.” This will bring you to theProvider and Program Selection page.
![]()
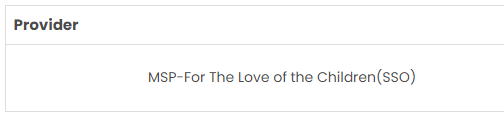
- Verify that the provider is correctly populated based on your login.
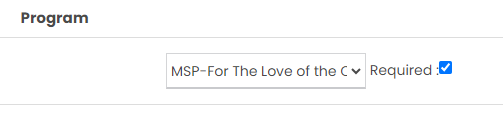
- Select the appropriate program; ensure it matches the “For the Love of Children” program and be sure to check “Required”.
Select Service and Date:
- Choose the specific service provided (e.g., a field trip) and the date of the service (e.g., 1123). If an error occurs due to the service date input, use the calendar to select the date.

Entering HMIS IDs for Bulk Services:
- After entering the date start typing the HMIS IDs for clients to receive bulk services. Each HMIS ID should be preceded by the letters “ECM” (e.g., ECM268339) for each client involved in the service. As you type, you’ll see the ID appear in the bottom Right corner.
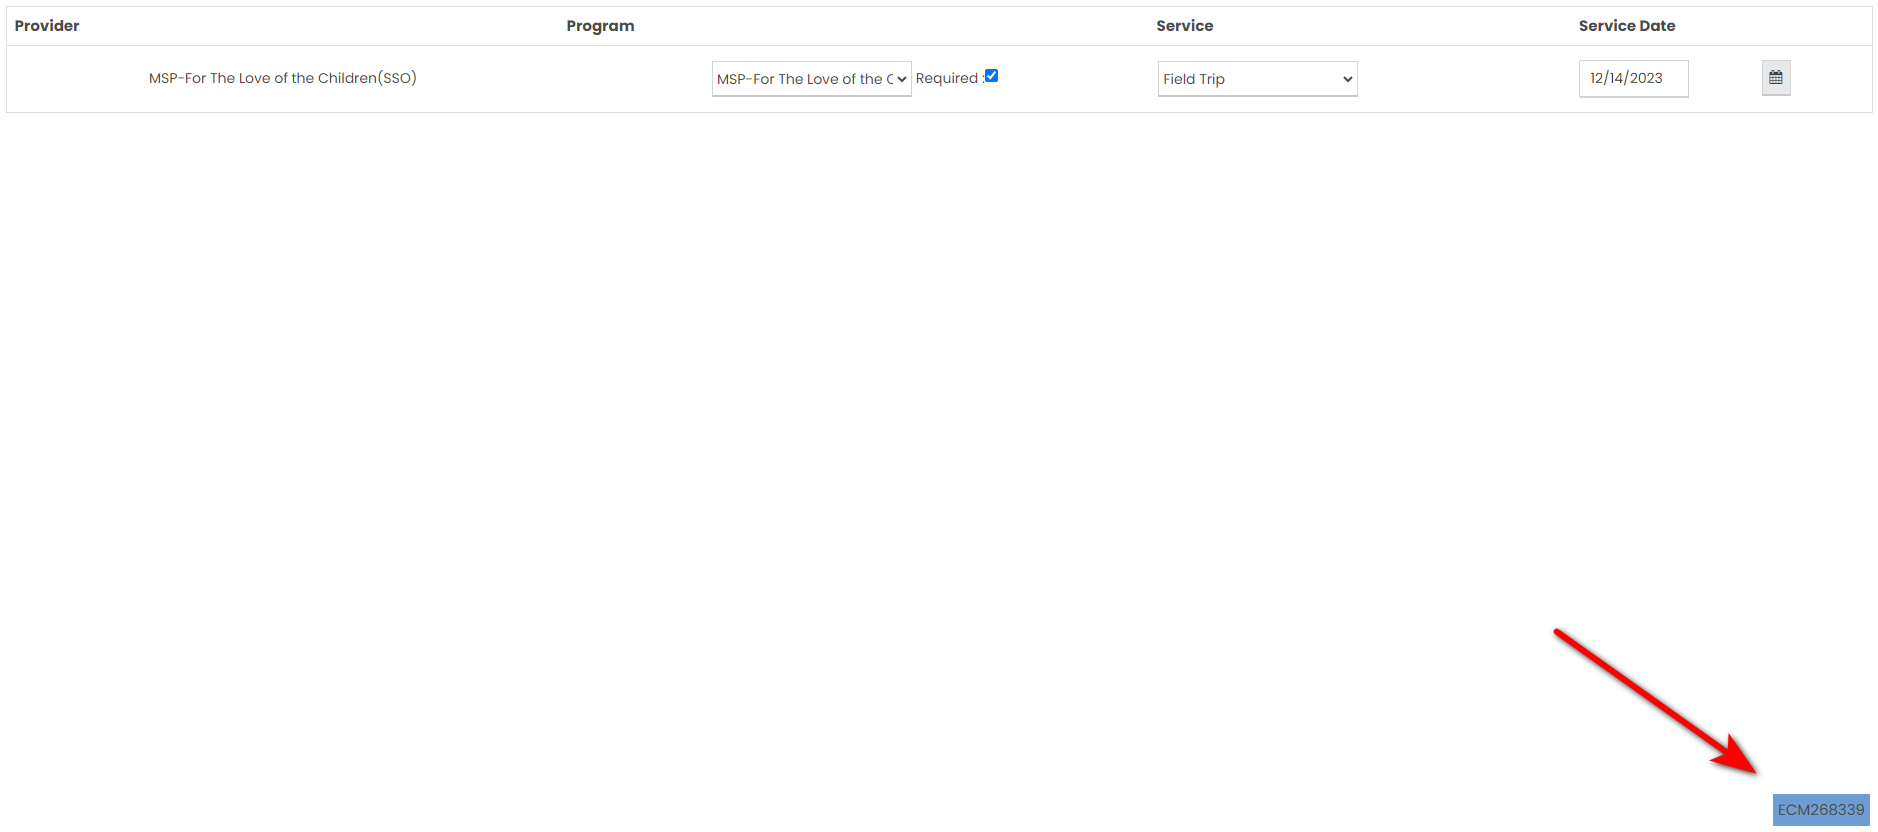
- Hit “Enter” after typing each HMIS ID to register the service for the respective client.

Resolving ID Issues:
If an HMIS ID isn’t found or an error occurs, attempt to resolve the issue. Check the accuracy of the HMIS ID by accessing the client’s profile. Create a scan card for the client if necessary to obtain the correct scan card ID.
Creating Scan Card and Obtaining IDs:
If needed, create a scan card for the client to retrieve the accurate scan card ID. Confirm if the ID needs to be preceded by “ECM” or if it’s the plain HMIS ID.
- Go to the client page
- Click on Create Scan Card
- Click “+ New Workflow” in the upper right corner.
- You don’t need a photo so you can select “no” when asked.
- Choose Scan Card Standard under “Print Client Badge”
- Wait for it to load then obtain the client ID from the badge that appeared.
- Hit Done.
*Maintaining a List of Scan Card IDs:
Keep a comprehensive list of scan card IDs for all clients. Note any variations in the format of IDs and ensure this list is readily accessible.
Streamlining Bulk Service Entries:
Once you have the complete list of scan card IDs, entering bulk services becomes straightforward. Enter the client IDs at the bottom of the Scan Card Services field and press “Enter” for each.
Note for Efficiency:
The process remains consistent once you have a reliable list of scan card IDs. Keep the list accessible to add multiple clients with ease, improving efficiency in service entry.
Discharging your Client
Discharging a client might occur when the client/family has successfully completed the required services and achieved their predetermined goals, signifying the fulfillment of their program objectives.
Alternatively, a client/family might be discharged from the program because they’re also vacating from the housing program, or they may leave the for The Love of the Children program just because they are no longer interested in receiving services.
- Make sure you are on the Head of Household’s record by checking for your client’s name in the upper left hand corner.
- Click on Case Management.
![]()
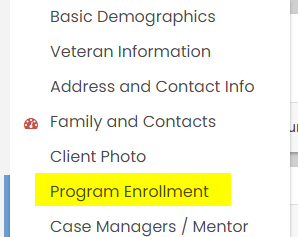
- Click on Program Enrollment from the menu that appeared.
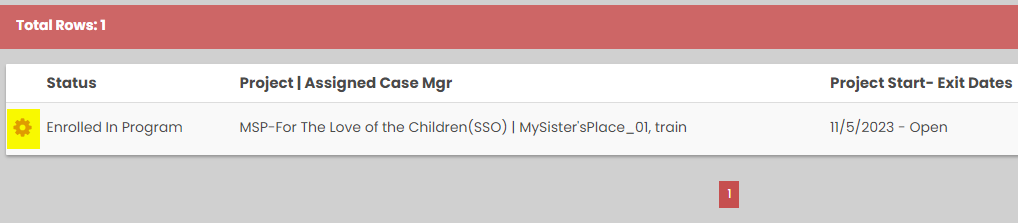
- Click on the gear icon located to the left of the enrollment you want to exit the client from.
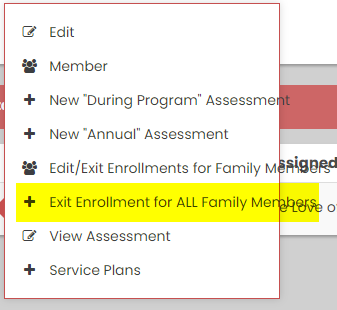
- Select Exit Enrollment for ALL Family Members (This pops up a new window for the discharge workflow.)
- Choose an End Date for the client based on when the client stopped receiving services.
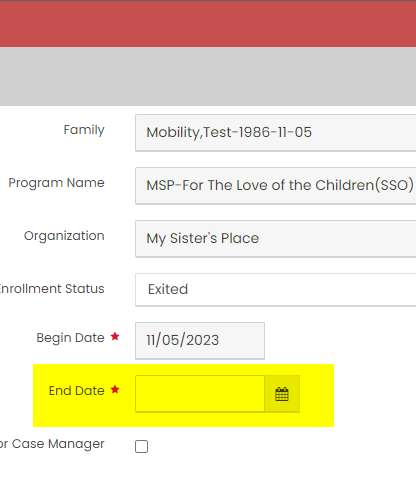
- Check the “Exit Case Assignment for Case Manager box to remove the client from the current Case Manager’s caseload.
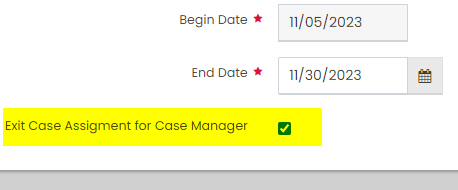
- Click Save.
![]()